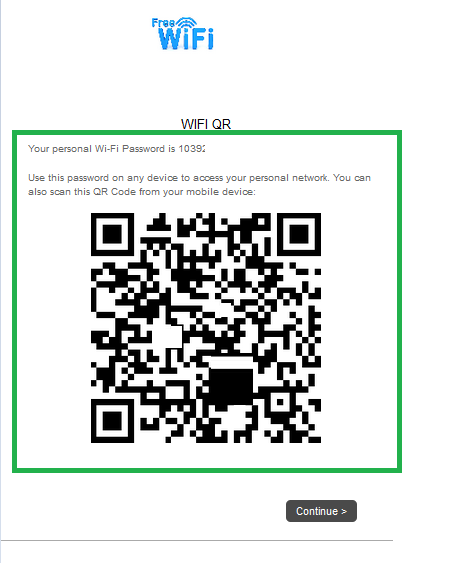
This article explains setting up a Cloudpath Enrollment System for QR code generation in workflow for DPSK SSID.
Steps:
- Once DPSK is generated in the Workflow>>Click on the below marked arrow.

- Add another step to Display a Message.

- Update the HTML message with the "Standard template QR Code", as below.
Your personal Wi-Fi Password is ${DPSK}
<br><br>
Use this password on any device to access your personal network. You can also scan this QR Code from your mobile device:<br><br>


<div style="display: flex; justify-content: center; text-align: center;" id="qrcode"></div>


<script>new QRCode(document.getElementById("qrcode"), "WIFI:S:WLAN-NAME;T:WPA;P:${DPSK};;");</script>
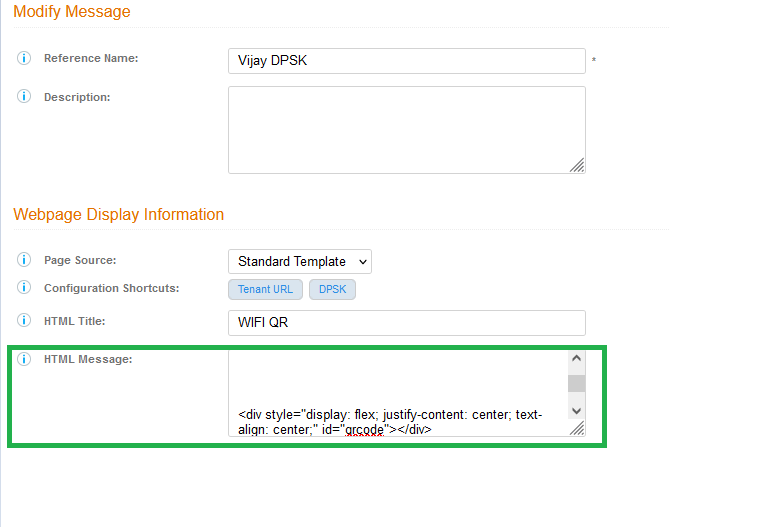
Make Sure to update the BOLD part (WIFI:S:WLAN-NAME) in the HTML template with your actual SSID value and Click on Save.
- Once Saved, Click on the pencil icon to re-modify the Display Message.

- In the Page Source: Change to Upload HTML template and browse "Cloudpath_Template_QRCode" and click on Save.(attached below)
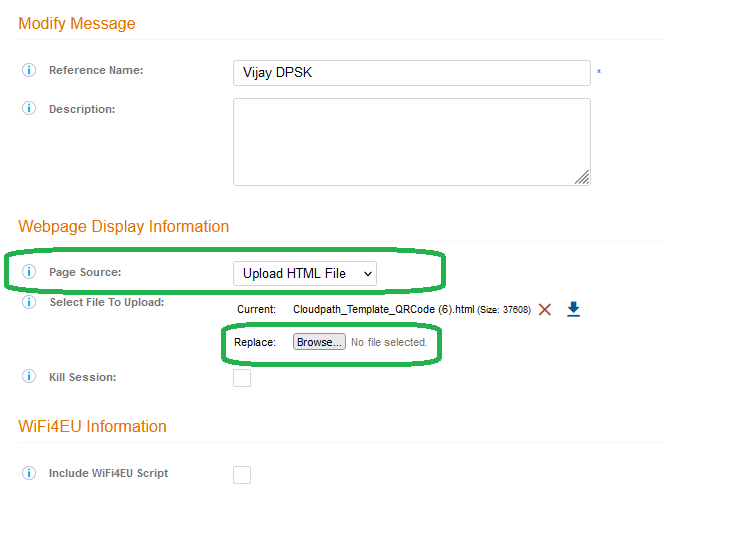
- Publish the Workflow.
Note:
Rename the attachment "Cloudpath_Template_QRCode.txt" to "Cloudpath_Template_QRCode.html".
If you make changes as ‘Standard Template’ as Page Source, you will have to upload the HTML file again, always upload the file last, then save and publish.
- Test the workflow, QR code will be visible after DPSK generation, Scan the QR code to connect to the DPSK SSID.